Build An Ant Empire Detailed Controls Guide
Every interact target and movement habit that keeps your colony loop fast on six-player servers.
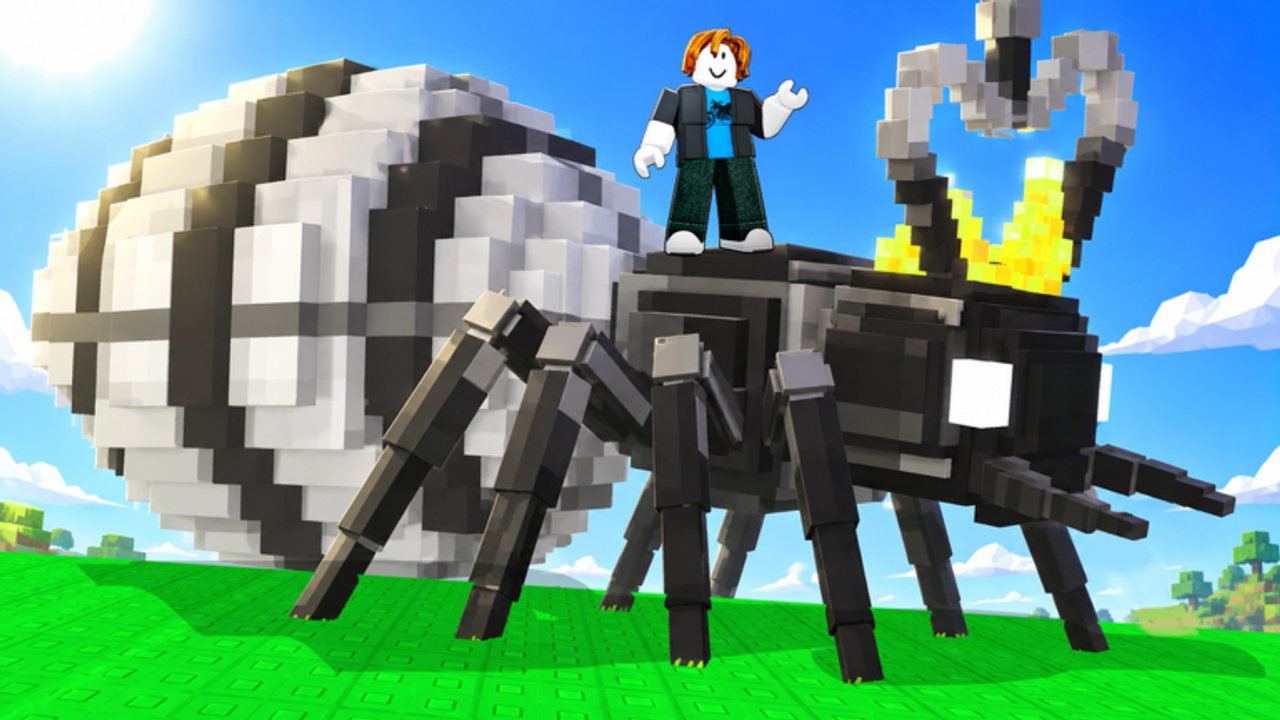
This page expands the Controls Hub into a practical movement manual for Build An Ant Empire. You will use the same three inputs all game - WASD, Space, and E - but mastery is about where you stand, when you interact, and how you route Cash loops between rolls and sells.
Input reference
WASD - movement
Move through the plot to reach:
- Ant Queen for rolls
- Colony slots for placement
- Collection station for food boxes
- Sell station for Cash
- Upgrade boards for permanent power
- Center map for the items shop
- Mount NPC if you insist on training
- Nest return paths (or use teleport-to-nest when available)
Hold directions cleanly; strafe adjustments near stations prevent failed E presses from being slightly out of range.
Space - jump
Jump clears minor terrain. It is not a core DPS tech. Prefer flat routes between collect and sell. Excessive jumping slows camera control and can desync your approach angle to interactables.
E - interact
E is the universal confirm:
| Target | E result |
|---|---|
| Ant Queen | Roll eggs (free roll; Cash to buy) |
| Colony systems | Place / manage ants in slots |
| Collection station | Pick up produced food boxes |
| Sell station | Convert boxes to Cash |
| Upgrade boards | Purchase next level of a board |
| Items shop | Buy jelly or potion |
| Index claim | Take milestone reward |
| Mount NPC | Start train attempt (ant consumed either way) |
| Settings (via cogwheel UI) | Not an E world target - click the top-right cog for codes |
If E does nothing, reposition closer, wait for animations, and ensure the tutorial has finished so objects are unlocked.
Recommended nest route
A reliable circuit for active play:
- Queen - roll until you see a buy worth Cash (see tier list).
- Slots - place or replace.
- Collect - gather food boxes.
- Sell - bank Cash.
- Boards - spend on upgrade priority when thresholds allow.
- Repeat; insert shop visits only for planned buys.
During Cash codes (15-minute timers), shrink the circuit - skip sightseeing, skip mount NPC, skip window-shopping Starlight prices.
Teleport-to-nest and mounts
The game includes a teleport-to-nest style return option, which already solves most long runbacks. Mounts, by contrast, require training an ant at the mount NPC: success or fail, the ant is gone, and the mount is only slightly faster than walking. From a controls perspective, teleport + WASD beats sacrificing a Legendary hopeful for a minor movespeed flex.
Camera and UI habits
- Keep stations on-screen to reduce spin time before E.
- Open Settings only when redeeming codes or changing options - then close it and return to the loop.
- Watch for Index claim prompts after new discoveries so you do not leave rewards sitting.
- On six-player servers, expect shared space near popular stations; approach from side angles if blocked.
Buffs that change how controls feel
- Ant speed upgrade - ants produce faster, so collect trips matter more often.
- Normal Speed Jelly - $10k, 1.3x speed, 5 min.
- Strong Speed Jelly - $100M, 1.6x, 10 min.
- Super Speed Jelly - $10T, 2x, 15 min.
- Prismatic Speed Jelly - $100Qa, 2.5x, 15 min.
Jellies make WASD routes feel snappier but do not add new keybinds. Pair them with productive sell loops, not idle wandering. Details in the items shop guide.
Beginner control mistakes
- Standing at the Queen buying every Common without walking to place/sell
- Forgetting Sell after collecting a full stack
- Running to the shop before upgrade boards
- Training mounts with ants you still need in slots
- Redeeming a code then leaving the keyboard
Advanced efficiency habits
- Pre-decide rarity thresholds before you reach the Queen so E → buy decisions are instant.
- Expand slots when you notice travel time wasted parking good ants mentally “on the bench.”
- After mutations, confirm the right ant received EFF before leaving the shop area (mutations list).
- Use short collect-sell laps between each upgrade purchase so you never hard-stuck on a board price.
Accessibility / comfort
Play seated with a consistent key posture; the loop is repetitive by design. If you use remapped keys at the Roblox client level, keep E on an easy reach because interact frequency dominates. Controller users should confirm interact binding in Roblox settings before a serious upgrade session.
Where to go next
- Return to the Controls Hub for the short overview
- Follow Getting Started if still onboarding
- Optimize spends with colony upgrades
- Track UI changes after patches on Updates
Controls in Build An Ant Empire are simple on purpose. The players who look “fast” are not pressing extra keys - they are pressing E at the right station in the right order, every lap, until the colony prints Cash on command.
Frequently Asked Questions
Quick answers to the most common questions.
What key rolls eggs at the Ant Queen?
Press E while next to the Ant Queen. Rolling is free; confirming a purchase spends Cash.
How do I collect and sell food?
Move to the collection station and press E to gather food boxes, then move to the Sell station and press E to convert them into Cash.
Are mounts worth learning for movement?
Usually not. Training consumes the ant win or lose, mounts are only slightly faster than walking, and teleport-to-nest already shortens runbacks.
Do Speed Jellies add new controls?
No. They temporarily multiply speed while you still use WASD, Space, and E. Buy them from the center items shop when a grind session justifies the cost.
Where is the Settings menu for codes?
Click the cogwheel in the top-right of the screen, open Settings, paste your code, and hit Redeem.